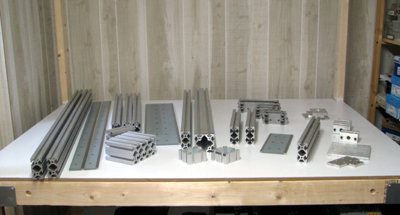
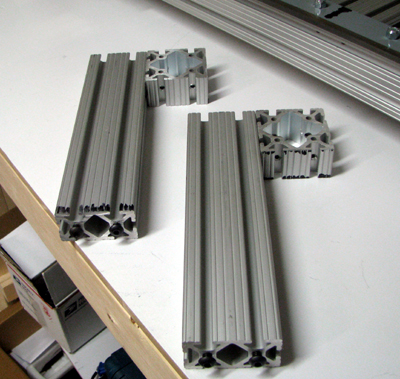
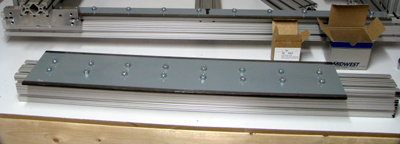
All the major parts collected for the build
Not shown, all the fasteners laid out.
Of course, I'll have to move most of them to have space to work in.
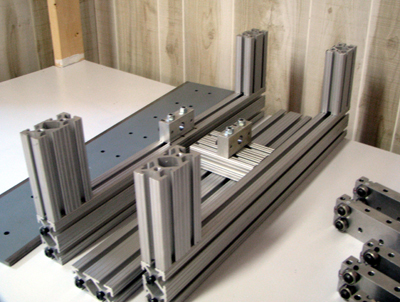
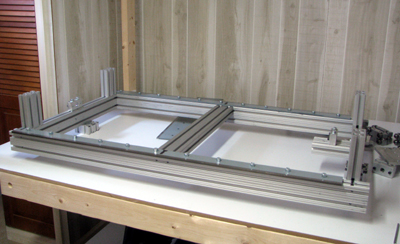
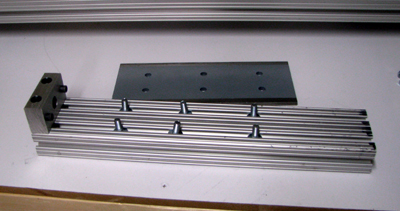
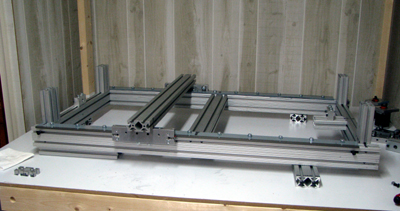
Base rails attached to 80/20.
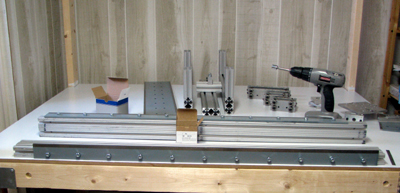
Note the nut driver attached to my drill.
Lots of nuts to tighten.
Here is where I forgot to slide in the captive nuts for the base motor mount.
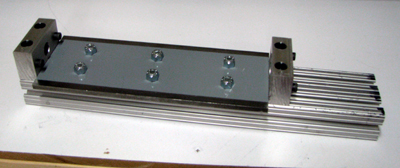
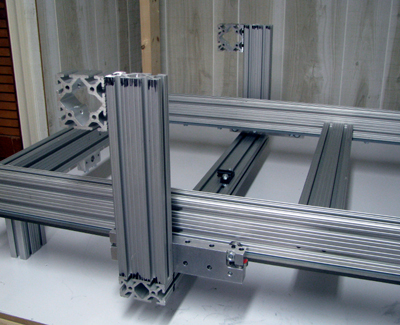
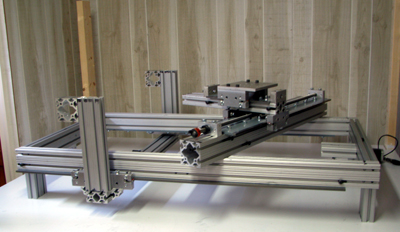
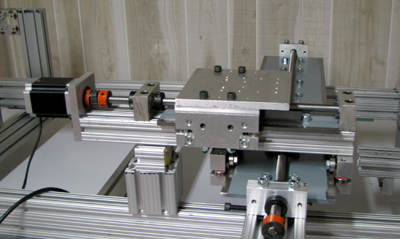
Linear carriages held in place while gantry cross bar is attached.
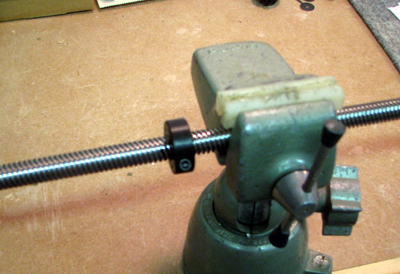
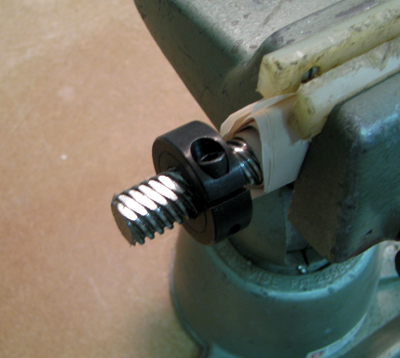
Here is where I forgot to put in the bolts to hold the base anti-backlash nut in place.
Here is where I realized that the old style carriage bolts could not be adjusted. Ahren Johnson, CNC Router Parts, sent me replacement hex head bolts. - Thanks Ahren!
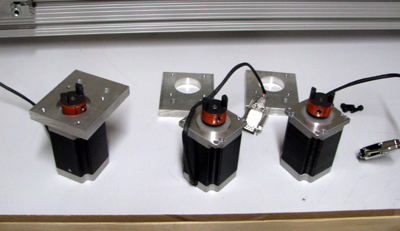
Mount the couplings onto the motor shafts before you mount the motors to the N23 mounting plates. My N23 plates don't have countersunk mounting screws. If you do that, remember that you'll need longer bolts.
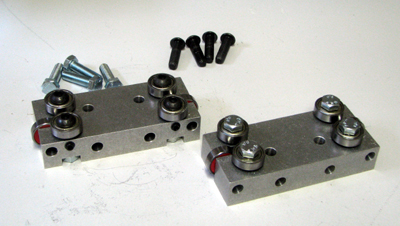
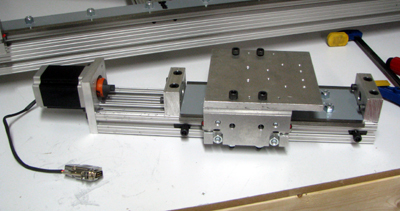
Note the "Low Profile" bearing blocks.
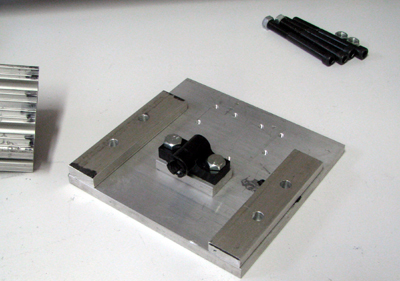
Z axis plate with spacer blocks.
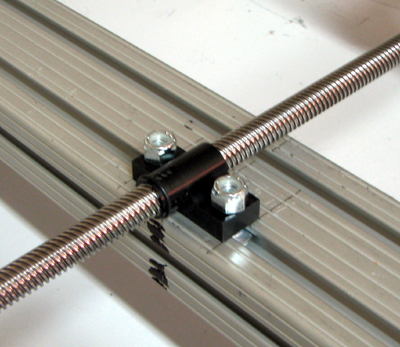
Bolts and captive nuts used as travel stops to keep carriage on rails.
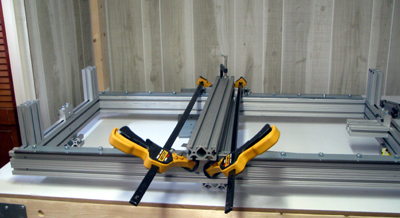
Don't tighten the gantry rails until you have them in the right position.
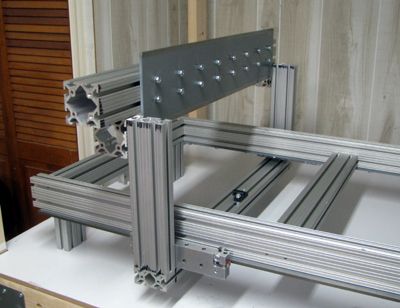
Note the 1530 crossbar position changes when the base is turned over.
I offset the 1530 crossbar to reduce the amount of dead space at the end of the router table. This was undone later on.
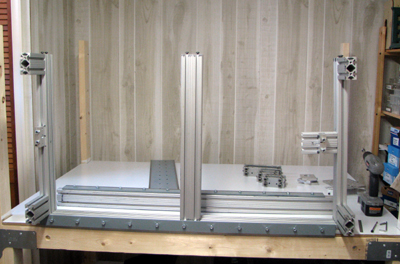
Gantry rails in place
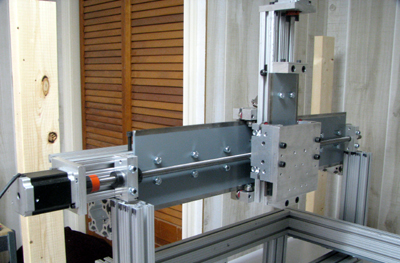
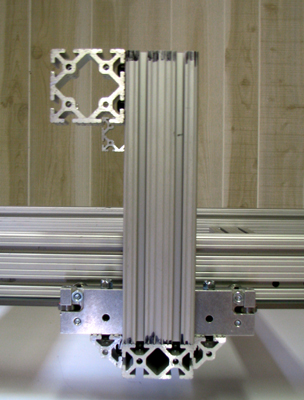
Z axis attached to gantry rails. note that there's no feedscrew yet.
I was waiting on the delivery of AB nuts and got ahead of myself.
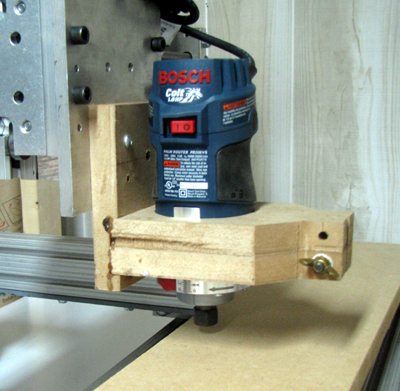
First pass at mounting the trim router comes out too low.
I'll need to add additional mounting holes to the z axis plate.
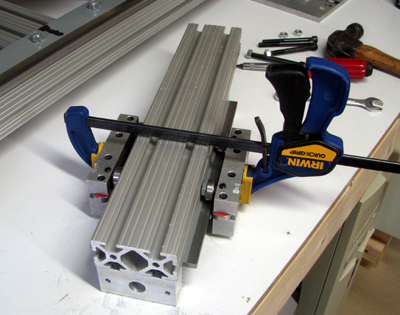
I used a shaft collar both as a cutting guide when I started the hacksaw cut and as a filing guide when I filed a flat on the end for the coupling to seat onto.
Once I cut the feedscrew and filed the ends smooth I also filed a flat on the shaft for the Lovejoy coupling to grip.
I rebuilt my base frame to move the feet out to where they should have been. I also shifted the position of the x axis rails all the way to the left and put the gantry crossbar back to the center position.
note the home made angle brackets now added
installing Z axis feedscrew is easier done horizontally.
Alignment marks help to center the x feedscrew AB nut.